Undermount Sink Installation Services for Property Owners
This page helps property owners learn about undermount sink installation services and compare local contractors who handle the work.
- - Residential property owners seeking professional undermount sink installation for kitchens and bathrooms.
- - Local contractors specializing in kitchen and bathroom upgrades with expertise in undermount sink setups.
- - Property managers coordinating renovations or maintenance requiring reliable sink installation services.
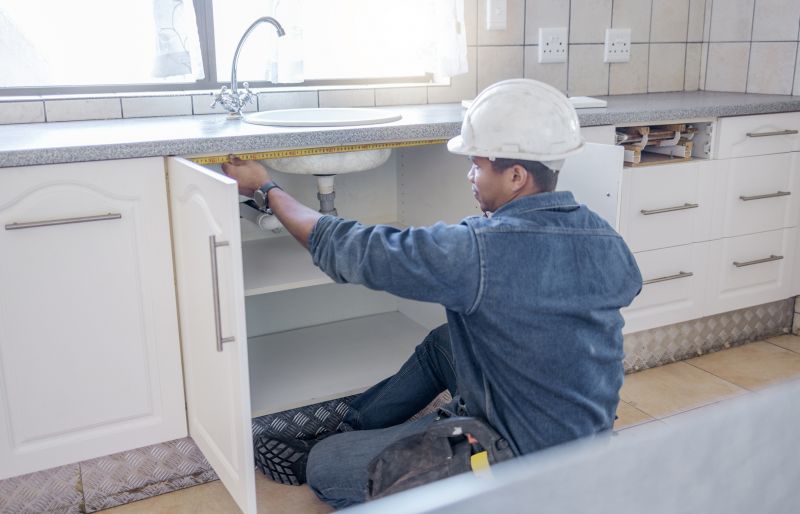
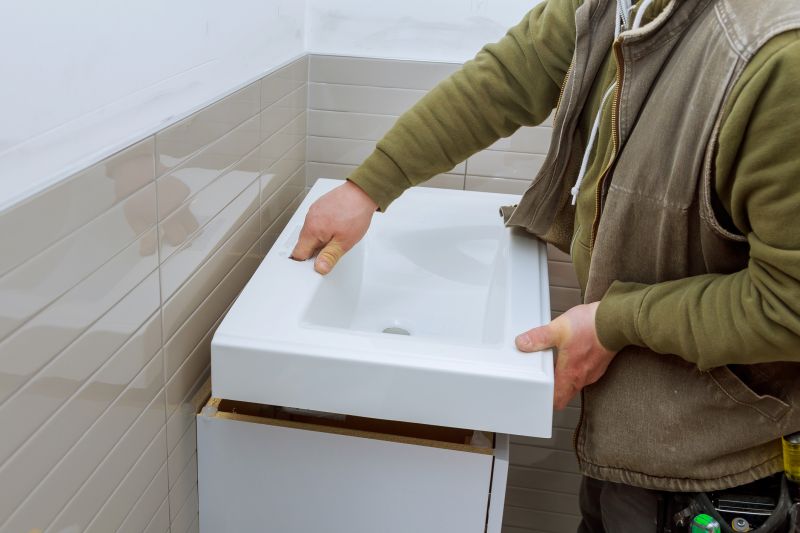

Undermount sink installation is a common upgrade for homeowners seeking a sleek and seamless look in their kitchens or bathrooms. This type of work typically involves removing the existing sink, preparing the countertop surface, and securely mounting the new undermount fixture beneath the countertop material. Property owners often seek professional assistance when replacing or installing these sinks to ensure proper sealing, stability, and a clean finish that complements their space’s aesthetic. Local contractors experienced in sink installations can handle these tasks efficiently, helping to improve both the functionality and appearance of the area.
Connecting with skilled service providers in the area can make the process of undermount sink installation smoother and more reliable. These local pros understand the specific requirements of different countertop materials and sink models, allowing them to deliver precise and durable results. Whether upgrading an existing setup or installing a sink in a new renovation, property owners can expect practical guidance and quality workmanship from trusted local contractors. This helps ensure the job is completed correctly and that the finished installation meets the homeowner’s expectations.
This guide provides helpful information to compare and connect with local contractors who specialize in undermount sink installation. It explains key factors to consider when planning a sink upgrade or new installation. By understanding these details, visitors can better prepare to discuss their project with trusted service providers in their area.